Organizing your photos can seem like a daunting task. Anyone who has been taking digital photos for a while will have a substantial quantity on their computer. Because taking photos has become almost second nature (thanks to smartphones) and they don’t take up physical space, organizing them may not always be a priority. However, when you find yourself searching extensively for a photo or wanting to create photo books but not knowing where to begin, it’s time to tackle photo organization.
Start with your smartphone itself – the main ‘culprit’ :). If you take many photos, of whatever, take a few minutes each day or week to remove all the ‘clutter’, and all duplicate photos. Here’s a list of photos you can quickly and easily delete:
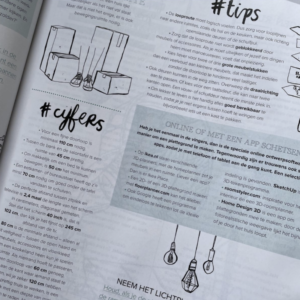
- Photos of magazine articles, tips you still want to use. Like the attached photo of mine :). In the meantime, these can be deleted as I have utilized the information.
- Screenshots – they are usually handy at the time but become unnecessary later. On your phone, they have a separate folder, making it easy to clean up.
- Photos of items in a shop (to show or remember). After some time, these can be deleted.
- Timer shots (bursts). Pick one and discard the rest.
- Photos that are too dark or too light, unless they hold a special memory.
- Photos where you have many similar ones – for instance, sunsets.
- (Too) many photos of animals at the children’s farm or an outdoor event where you no longer remember who’s in them 🙂
- Blurred photos.
- Accidental photos.
- WhatsApp photos from others that you don’t want. If you want to prevent them from continually appearing in the photo library:
- iPhone: Go to WhatsApp Settings, then WhatsApp Settings – Chats, and turn off ‘Save to Camera Roll.’
- Android: Go to WhatsApp, tap the three dots in the upper right – Settings – Chats – Turn off Media Visibility.
By decluttering ‘at source’ in this way, you prevent your computer from being overwhelmed with photos. You can then gradually spend time organizing older photos. The key steps are:
- Gather all photos together.
- Backup
- Remove duplicates.
- Further clean up (keep only the best, most important ones).
- Organize (into yearly folders or themes).
- Optionally rename and add keywords (tags) to photos.
If you have questions about these last six points or want to work on them, feel free to contact me. I can assist you with:
- DIY (Do It Yourself) – you get advice so that you can continue on your own.
- DWY (Do It With You) – we work together.
- DFY (Done For You) – I completes the task for you.